Picking the Right Bathroom Lighting
When it comes to designing a bathroom, one of the most overlooked aspects is the lighting, particularly in the shower area. A well-lit shower not only enhances the aesthetics of the bathroom but also improves functionality and safety. One of the most innovative and stylish ways to achieve this is by using a shower niche lighting kit. In this blog, we will delve deep into the world of shower niche lighting kits, exploring their benefits, installation process, design ideas, and tips to help you create a stunning bathroom sanctuary.
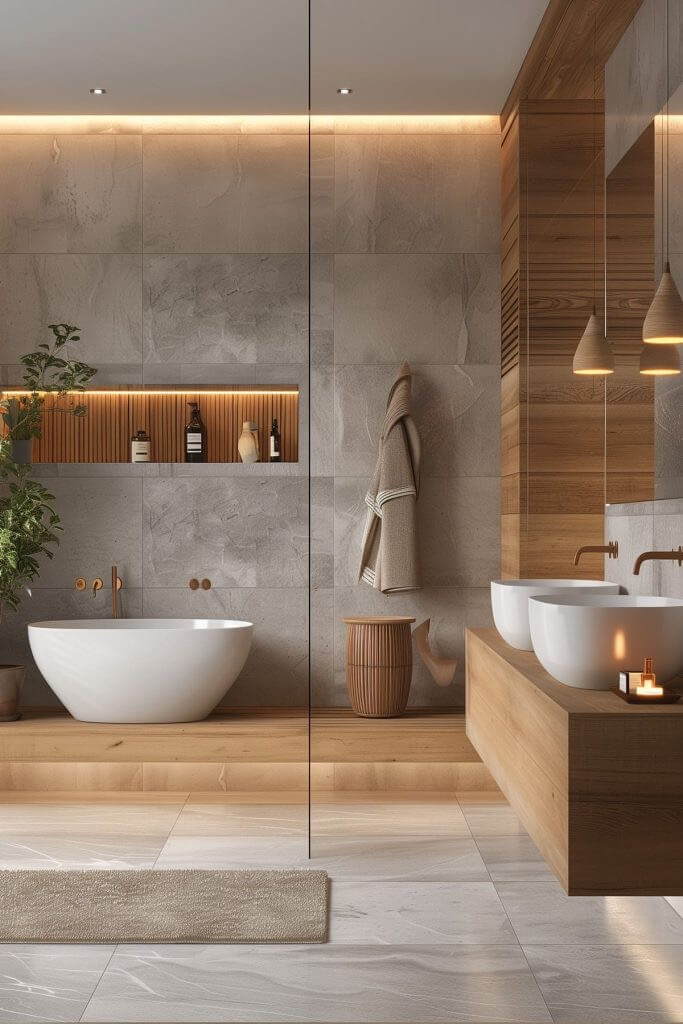
How to choose the Right Shower Niche Lighting Kit
1. LED vs. Halogen Lights
When it comes to shower niche lighting, LED lights are the preferred choice. They are energy-efficient, long-lasting, and produce less heat compared to halogen lights. LED lights also come in a variety of colors and brightness levels, allowing you to customize the ambiance of your shower.
2. Waterproof Rating
Since the lighting kit will be installed in a wet area, it is crucial to choose lights with a high waterproof rating. Look for fixtures with an IP65 rating or higher to ensure they are safe for use in the shower.
3. Color Temperature
The color temperature of the lights can significantly impact the overall look and feel of your bathroom. Warm white lights (2700K-3000K) create a cozy and relaxing atmosphere, while cool white lights (4000K-5000K) offer a clean and modern look. Consider the overall design of your bathroom when choosing the color temperature.
4. Dimmable Lights
Dimmable lights allow you to adjust the brightness according to your preference and needs. This feature adds versatility and helps create the perfect ambiance for different times of the day or occasions.
5. Ease of Installation
Choose a shower niche lighting kit that is easy to install, especially if you plan to do it yourself. Some kits come with adhesive strips or magnetic mounts, making the installation process straightforward and hassle-free.

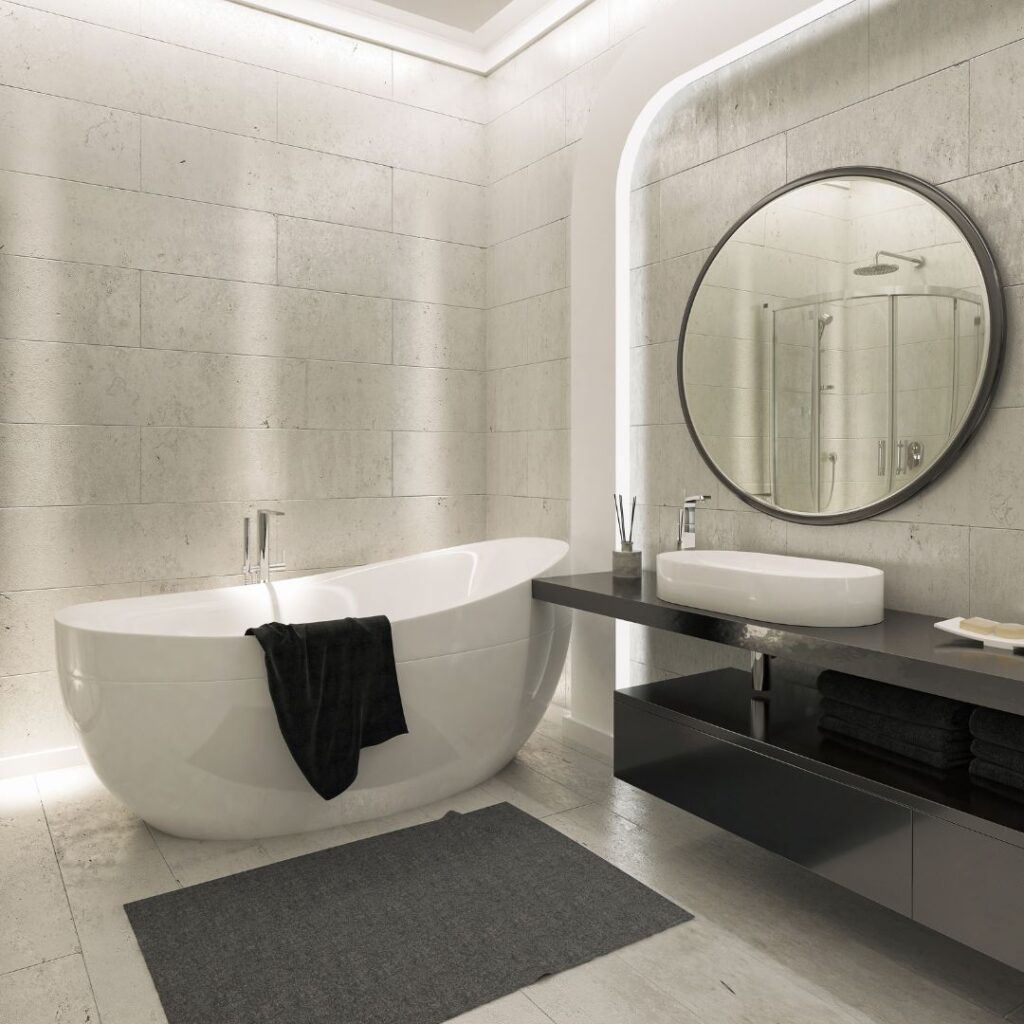
Installing a Shower Niche Lighting Kit
1. Plan the Layout
Before installing the lighting kit, plan the layout of the lights in the shower niche. Decide where you want the lights to be placed to achieve the desired effect. Consider the size and shape of the niche, as well as the placement of the toiletries.
2. Gather the Tools and Materials
Ensure you have all the necessary tools and materials for the installation, including the lighting kit, power supply, adhesive or mounting hardware, and any additional electrical components.
3. Turn Off the Power
Safety first! Turn off the power to the bathroom before starting the installation process to avoid any electrical hazards.
4. Install the Lights
Follow the manufacturer’s instructions to install the lights in the shower niche. This may involve attaching the lights to the niche using adhesive strips, screws, or magnetic mounts. Ensure the lights are securely in place and properly aligned.
5. Connect the Power Supply
Once the lights are installed, connect them to the power supply. This may involve running wires through the walls or using a nearby electrical outlet. If you are not comfortable working with electrical components, consider hiring a professional electrician to complete this step.
6. Test the Lights
After connecting the power supply, turn on the lights to ensure they are working correctly. Make any necessary adjustments to the placement or alignment of the lights to achieve the desired effect.
7. Seal the Edges
To prevent water from entering the electrical components, seal the edges of the lights with waterproof silicone or caulk. This step is crucial for ensuring the longevity and safety of your shower niche lighting kit.
Design Ideas for Shower Niche Lighting
1. Highlighting Tile Patterns
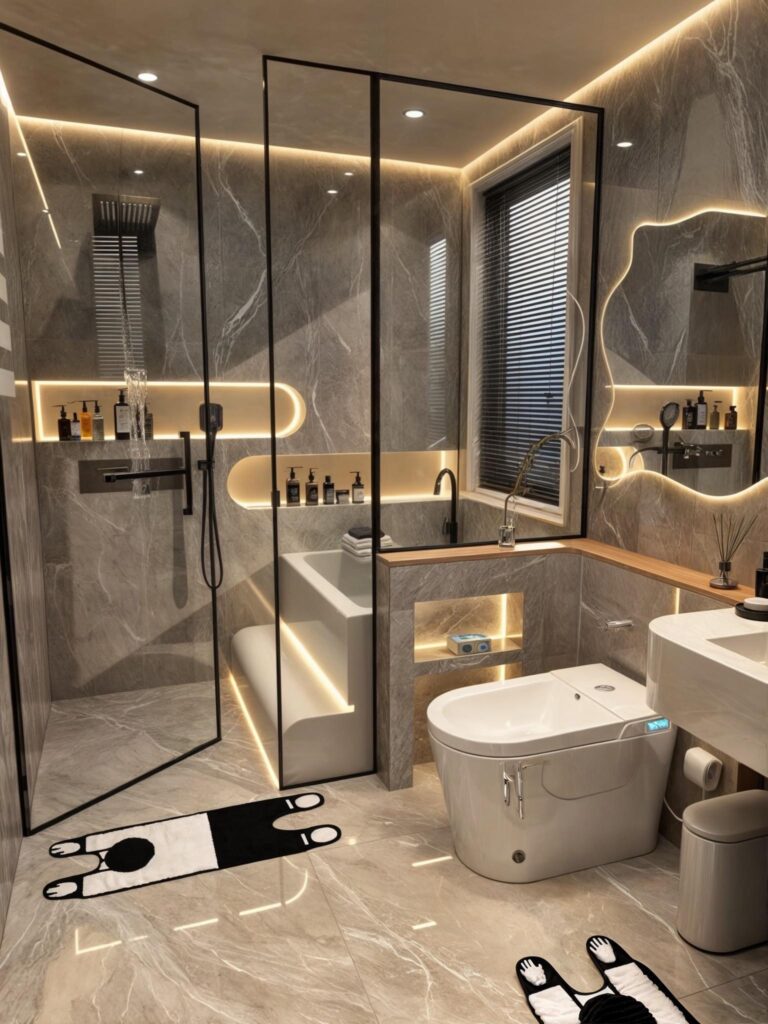
If your shower niche features intricate tile patterns, use lighting to highlight these designs. LED strip lights or small spotlights can be placed along the edges of the niche to create a dramatic effect and showcase the beauty of the tiles.
2. Creating a Spa-Like Ambiance
For a spa-like ambiance, choose warm white lights and incorporate natural elements such as stone or wood in the niche. Add scented candles or essential oils to complete the relaxing atmosphere.
3. Modern and Minimalist
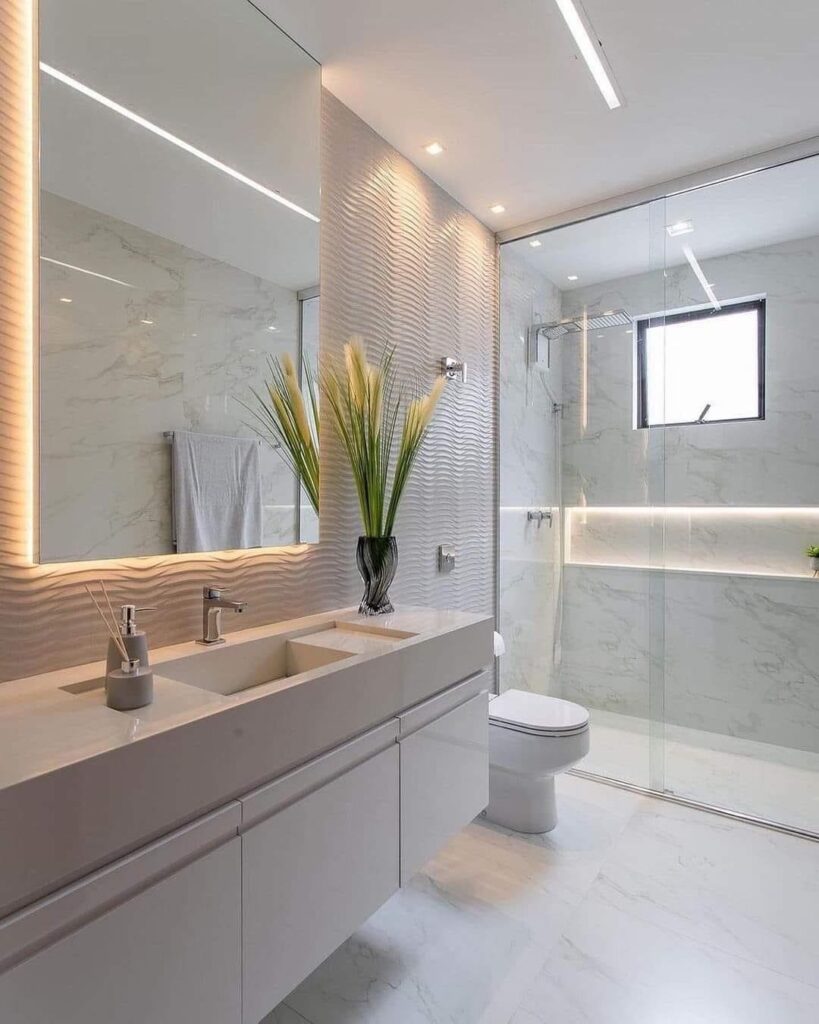
For a modern and minimalist look, opt for cool white lights and clean, sleek lines. Use glass or metal shelves in the niche to enhance the contemporary feel.
4. Color-Changing Lights
Add a fun and playful element to your shower niche with color-changing LED lights. These lights can be adjusted to different colors and brightness levels, allowing you to customize the ambiance according to your mood or preference.
5. Accent Lighting
Use accent lighting to highlight specific items in the niche, such as decorative bottles or plants. This creates a focal point and adds a touch of elegance to the shower area.
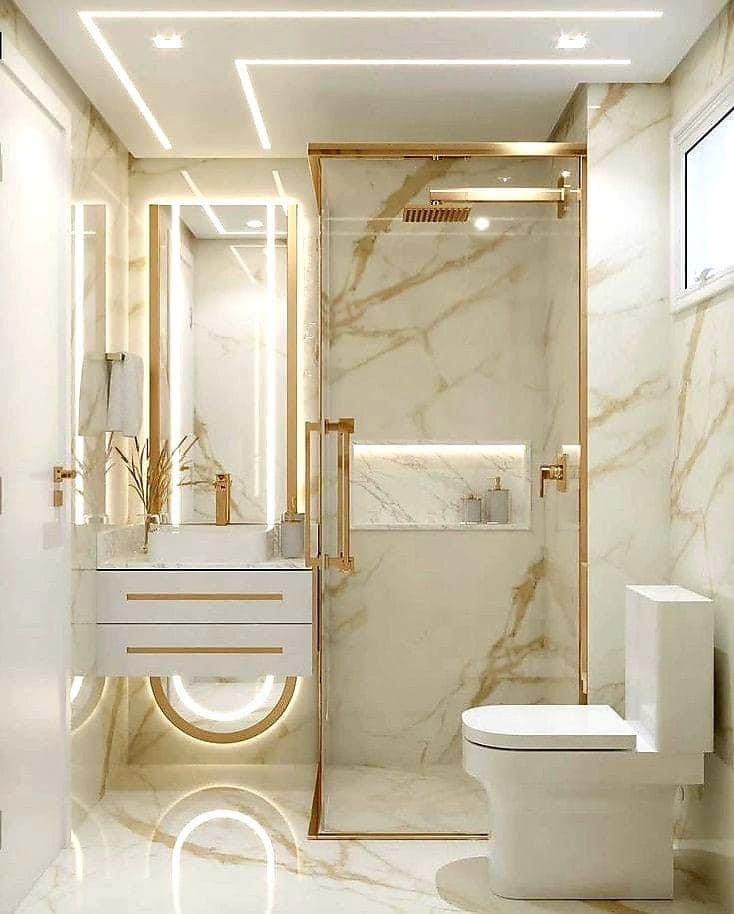
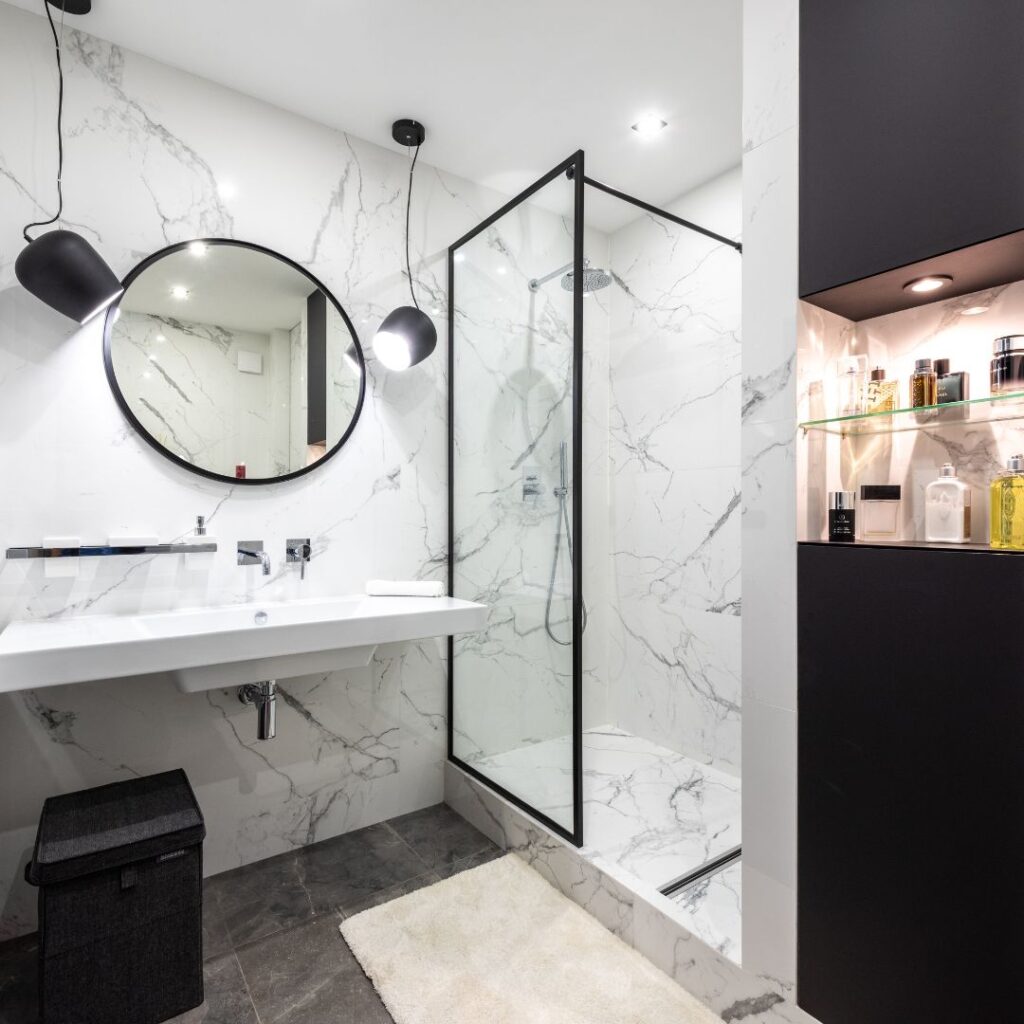
A shower niche lighting kit is a fantastic addition to any bathroom, offering enhanced aesthetics, improved functionality, increased safety, and added value to your home. By carefully choosing the right lighting kit, planning the installation, and exploring various design ideas, you can create a stunning and luxurious shower area that elevates your daily routine. Whether you prefer a modern, minimalist look or a cozy, rustic ambiance, a well-lit shower niche can transform your bathroom into a stylish and inviting space.
Investing in a shower niche lighting kit is a simple yet impactful way to enhance your bathroom’s overall design and functionality. With proper installation and maintenance, your shower niche lighting kit will provide years of enjoyment and elevate your bathroom experience to new heights. So, why wait? Start planning your shower niche lighting project today and transform your bathroom into the sanctuary you’ve always dreamed of.
