How to Install the Thunder Bunny Co. Shower Niche Lighting Kit
Adding LED lighting to a shower niche is an excellent way to enhance both the aesthetics and functionality of your bathroom. The Thunder Bunny Co. Shower Niche Lighting Kit is designed to provide soft, recessed illumination while remaining easy to install. Whether you’re an electrician, a tile installer, or a DIY enthusiast, this step-by-step guide will walk you through the process from start to finish.
Phase 1: Electrical Setup
Before tiling and waterproofing, the first step is to set up the electrical wiring for your lighting.
Step 1: Running the Low Voltage Wire
The kit includes a marine-grade low-voltage wire with two color-coded wires (red and black). To install:
- Drill a small hole where you want the LED wire to exit.
- Run the wire through the wall and down to the location where your driver/converter will reside.
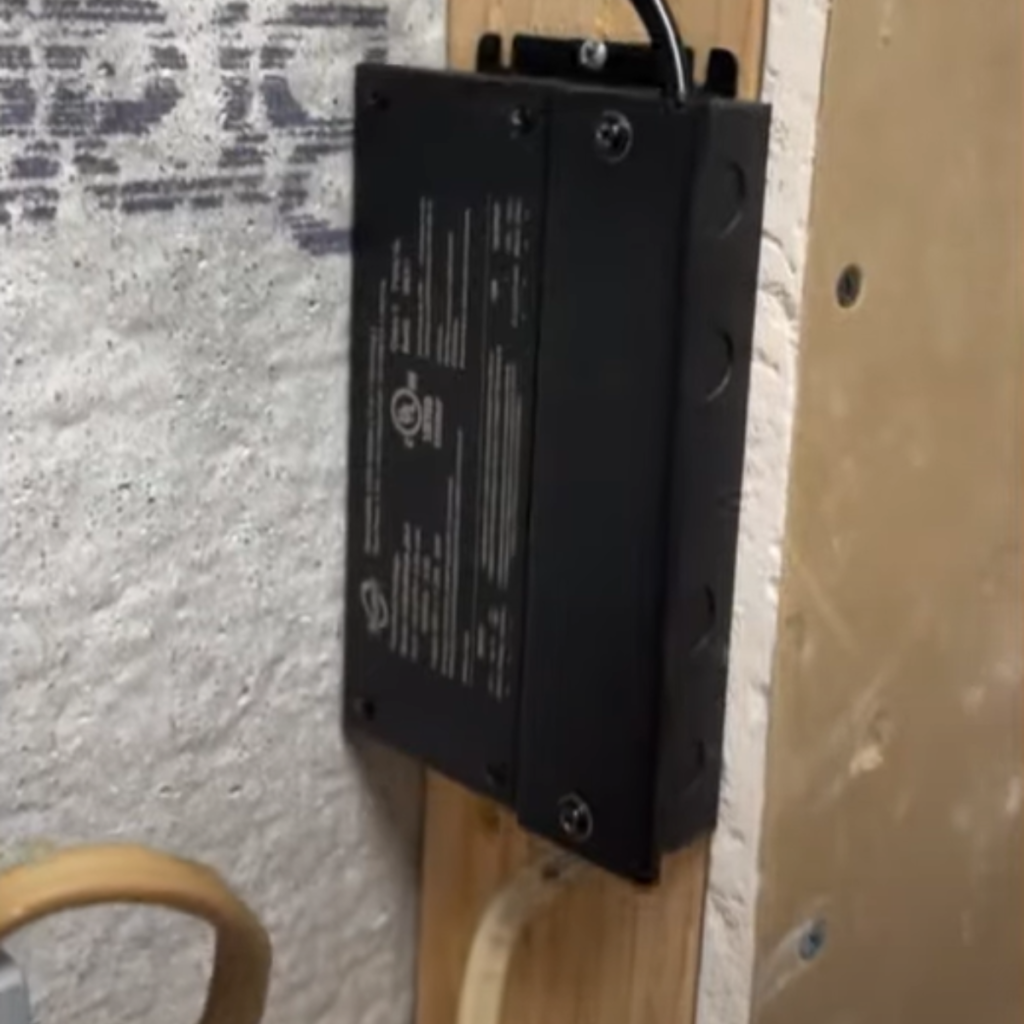
- Ideal locations for the driver include under a floating vanity or inside a vanity cabinet for easy access and airflow.
.
Phase 2: Tiling & Shower Niche Prep
Once the wiring is in place, it’s time to prepare the shower niche for installation.
Step 4: Installing the LED Channel
The aluminum LED channel is a key component that houses the LED strip, giving a clean, professional look. Here’s how to install it:
- Measure your niche opening and cut the LED channel to size using a hacksaw.
- Trim the included plastic diffuser with scissors to match the length of the channel.
- Position the channel in the niche before tiling to ensure a flush fit.
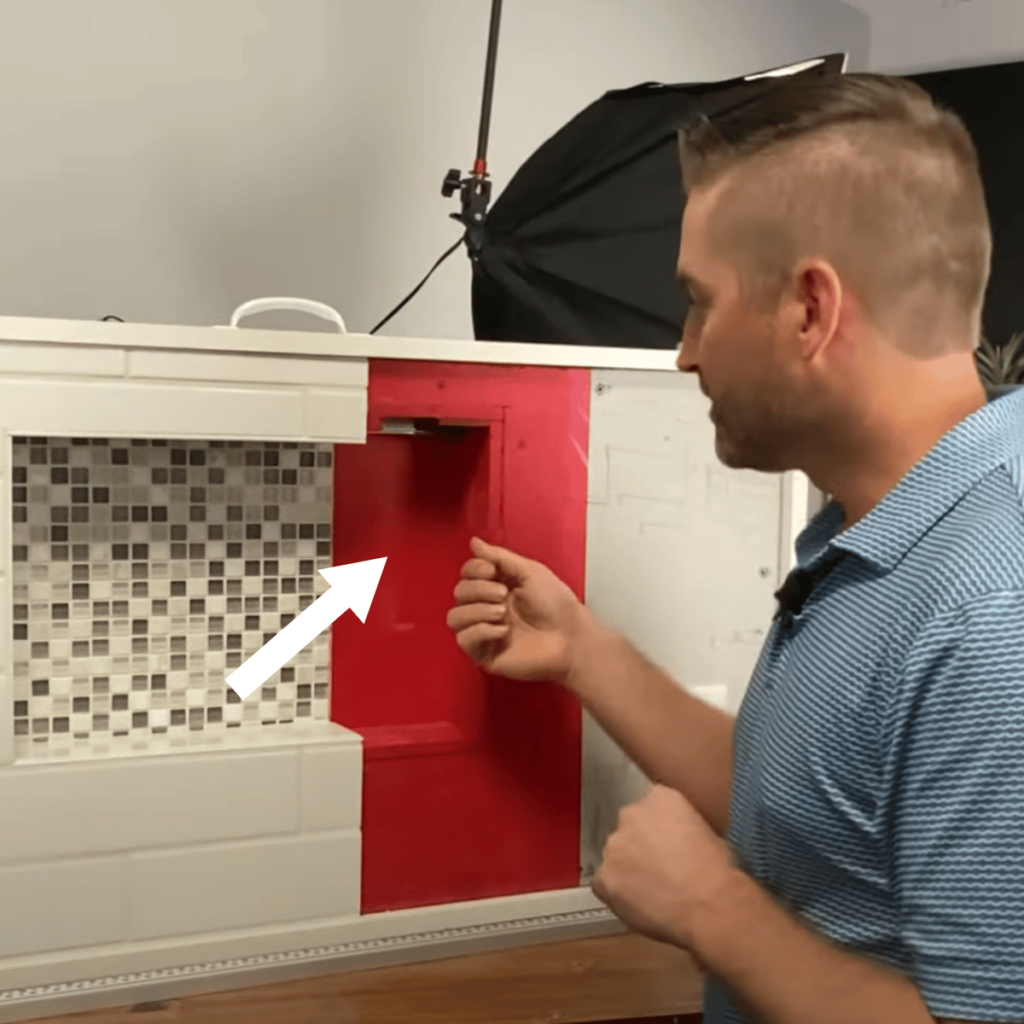
Step 5: Preparing the Shower Niche Wall
- Install the first layer of cement board inside the niche.
- Cut a second piece of cement board, but slightly narrower, so that when installed, it creates a recessed space for the LED channel.
- Ensure you leave at least 3/8-inch of space behind the channel for tile and thin-set mortar.
Step 6: Waterproofing the Niche
- Apply RedGard or another waterproofing membrane to seal the niche and prevent water damage.
- If securing the LED channel with screws, waterproof over the screw holes to prevent leaks.
- Some installers prefer using thin-set mortar to hold the channel in place instead of screws.
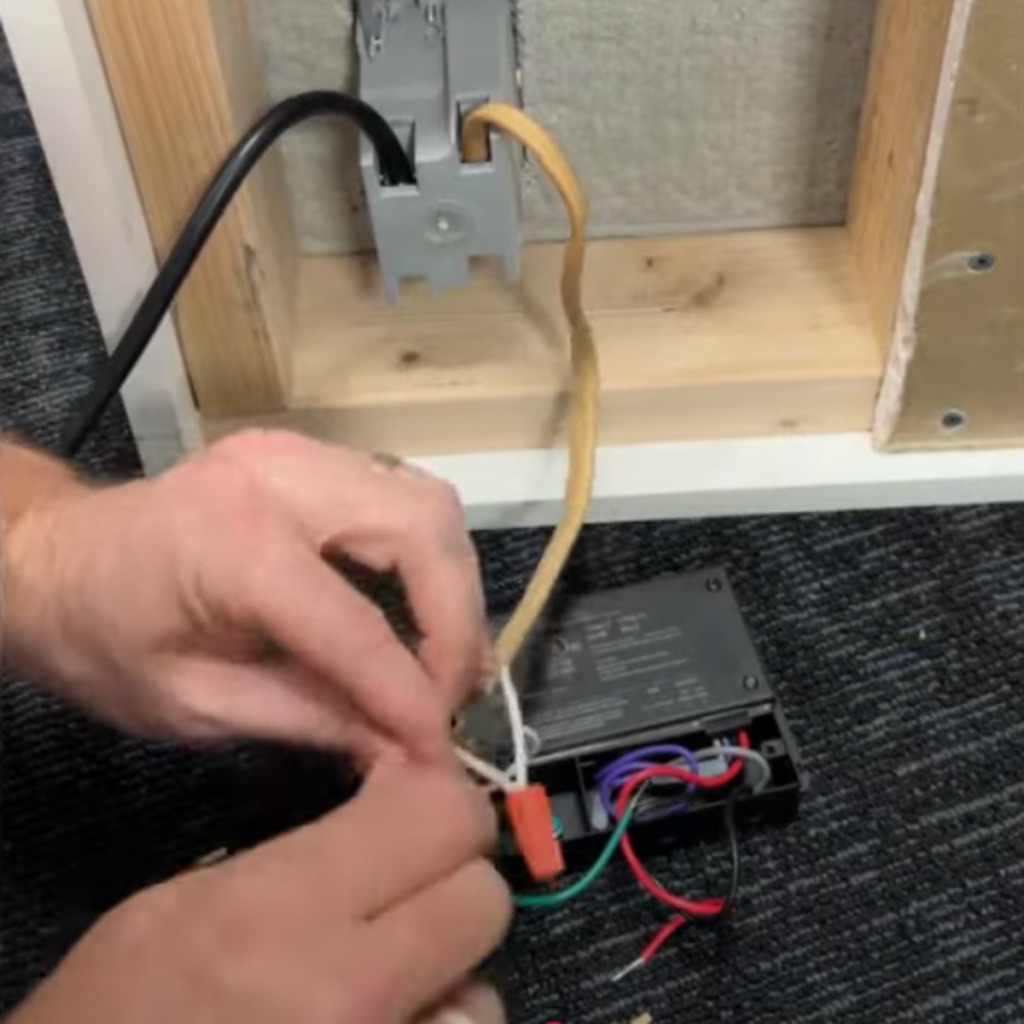
Step 2: Connecting the Driver/Converter
The low-profile driver converts AC to DC power. Here’s how to connect it:
- On one side, you’ll find green (ground), white (neutral), and black (power) wires—these connect to your AC power source.
- The other side has four sets of wires, but you’ll use the LED output (red and black) to match the low-voltage wire.
- Use wire nuts for secure connections.
Step 3: Installing the Dimmer Switch
Yes! The Thunder Bunny Co. Shower Kit is dimmable. Simply install a standard low-voltage dimmer switch, available at Home Depot, Lowe’s, or Menards, to control brightness.
Phase 3: Tiling the Niche for a Seamless Finish
Once the waterproofing is complete, it’s time to tile around the LED channel.
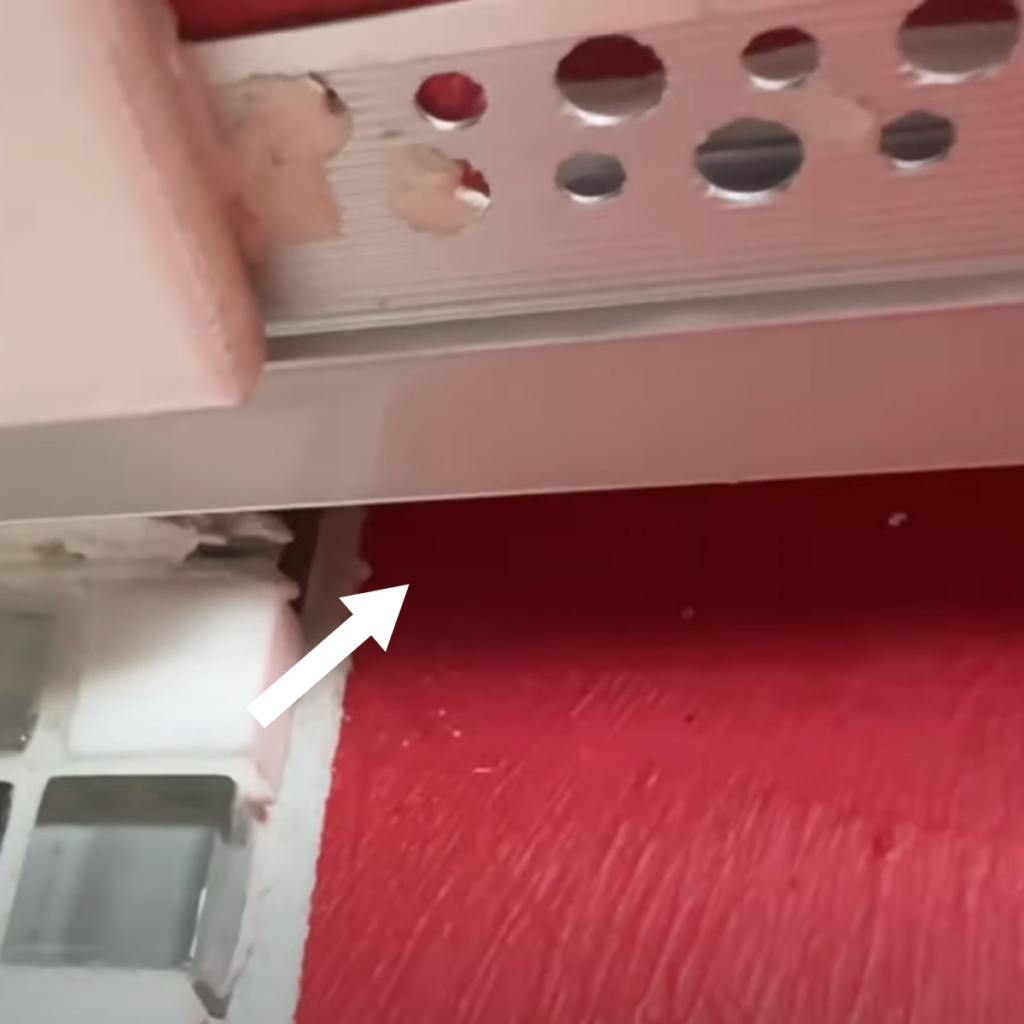
Step 7: Cutting & Placing the Tile
- When cutting side tiles, ensure the bottom tile extends slightly below the LED strip. This will create a hidden lighting effect rather than exposing the aluminum channel.
- Make small notches in the side tiles so they align cleanly with the LED channel, preventing visible grout gaps.
- Secure all tiles with thin-set mortar, ensuring a snug fit around the LED channel.
.
Phase 4: Installing the LED Strip
Now comes the final touch—installing the LED strip.
Step 8: Selecting the Right Color Temperature
The LED strips come in three color temperatures:
- 3000K (Warm White) – Ideal for bathrooms with warm tones or wood elements.
- 4000K (Neutral White) – A balanced white with slight warmth.
- 6000K (Cool White) – A crisp, bright white that matches standard bathroom lighting.
To create a cohesive look, match your niche lighting to your existing bathroom lights.
Step 9: Connecting the LED Strip
- Cut the LED strip every 2 inches along the copper contact points.
- Use the included end caps and waterproof glue to seal the exposed end.
- Attach the low-voltage wire to the LED strip using the heat-shrink tubing included in the kit. This ensures a watertight, durable connection.
Step 10: Installing the LED Strip into the Channel
- Start from the far side of the niche opening and press the LED strip into the channel.
- Run excess wire back through the hole into the wall for a clean, professional finish.
- Add a small amount of silicone at the ends of the channel to seal against moisture.
- Snap the diffuser cover into place.
Final Step: Power On and Enjoy!
Once everything is secured:
- Turn on your dimmer switch.
- Adjust brightness to your preference.
- Enjoy the elegant, soft glow that transforms your shower niche into a luxurious focal point!
FAQs About the Thunder Bunny Co. Shower Niche Lighting Kit
Is the lighting waterproof?
Yes! The LED strip and all included components are IP67-rated, making them fully waterproof and safe for wet areas.
How long do the LED strips last?
The LED strips are rated for 50,000 hours, meaning you’ll likely never need to replace them. However, replacements are available if needed.
Where should I install the driver/converter?
The driver should be placed in a well-ventilated location, such as under a floating vanity or inside a cabinet.
Can I install multiple niches with one driver?
Yes! If wiring multiple niches, ensure the driver has enough wattage capacity to support additional LED strips.
Want to Show Off Your New Shower Niche Lighting?
Thunder Bunny Co. offers a $100 Amazon gift card giveaway every month! Submit a photo or video review of your installed lighting kit on their website for a chance to win.
Installing the Thunder Bunny Co. Shower Niche Lighting Kit is a straightforward process that dramatically enhances the look and functionality of your bathroom. With the right planning, careful waterproofing, and attention to detail, you can achieve a sleek, professional-quality installation.
Ready to upgrade your shower niche? Order your kit today and enjoy a modern, illuminated shower experience!

Your Ultimate Home Building & Remodeling Guide
Download our guide of all the coolest stuff you need to know about when building or remodeling your home!