Follow Us
Search
Close this search box.

How to Install Shower Niche Lights

Choosing the right LEDs

When installing any lighting in wet areas you will want to make certain you have long lasting, high quality, water proof lights. LEDs are a fantastic option as they do not generate a lot heat like other types of lighting can.

In our shower niche LED kits we have waterproof lights rated for 50,000 hours. That’s nearly 6 years if you never turned them off!

We provide three different shades of white for your project. The 3000k is a warm yellow tone, the 4000k is a warm white and 6000k is bright white.

3000 K LED lighting

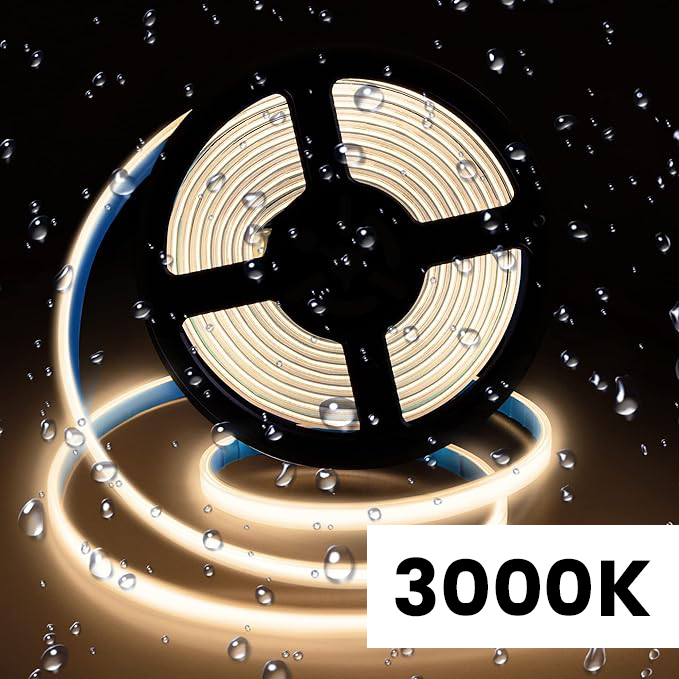
3000K Lighting Option

Warm yellow tone

4000 K LED lighting option

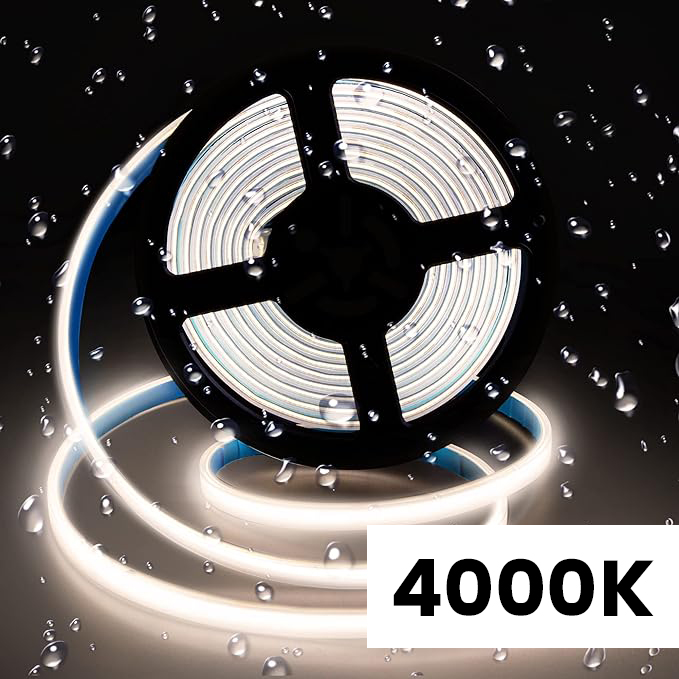
4000K Lighting Option

Warm white

6000K LED lighting option

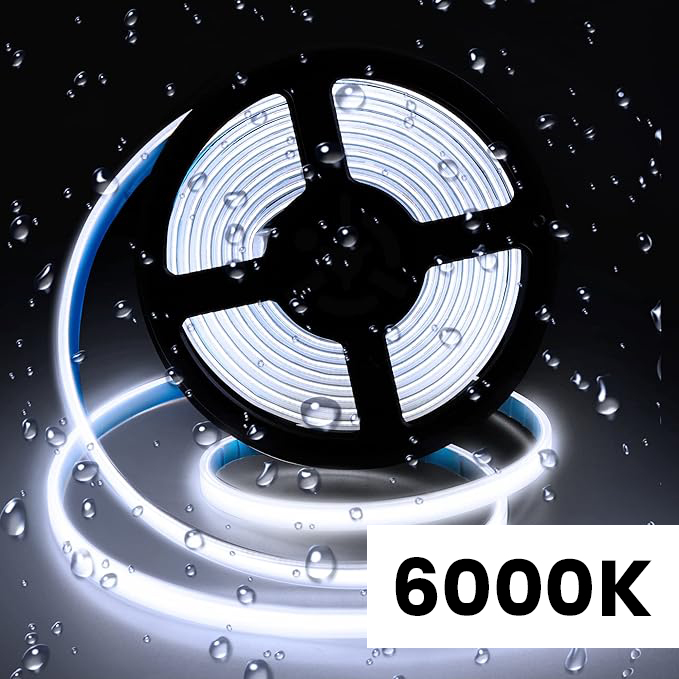
6000K Lighting Option

Bright white

Installing the Low Voltage Wire

The first thing you must do when installing your shower niche light is to run your low voltage wire from the niche to the space where the power converter will be mounted.

This step occurs before you close everything in with your cement board. 

We recommend mounting your converter under your vanity in a dry location or in a closet if your bathroom has one.

shower niche wire installation

Installing the Aluminum Channel

The aluminum channel provided in our kits allows for you to install your shower niche LEDs flush with the top tile. 

The channel is made to attach to the cement board located at the top of the shower niche. 

When installing the channel you want to make sure you leave enough of a gap to account for the thickness of the thin set and wall tile. Typically a 5/8 inch gap between the channel and the back cement board will be plenty for most tiles.

Connecting the LEDs

The LED strip provided in your kit will have two wires coming out either end. One wire will be black and the other red. You will connect these to the corresponding color of the low voltage wire already ran to the aluminum channel. (red to red and black to black)

We recommend using the heat shrink for each of these wires to make it easier to change out the LED strip should it burn out.

After connecting the wire you can place it into the channel using the sticky tape on the back and cut the LEDs to the desired length at one of the designated markers. Then use the LED cap provided in the kit to seal the end of the strip.

Once completed you can snap the plastic diffuser into the channel cutting the excess off.

Connecting the Converter

We recommend hiring an electrician to connect your converter to your light switch.

The kit does not include 110v wire or a switch. The converter is compatible with a regular switch or dimmable switches. 

The converter will have three wires on one side including black for the hot, white for neutral and green for ground. 

The opposite side will have two options depending on your switch. Most likely you will be connecting the LED to the red and black wires.

Enjoy Your Shower Lighting

Whether you’re unwinding after a long day or starting your morning routine, the gentle illumination provided by LED lights adds a touch of luxury and relaxation to your bathroom ambiance.

Show off your elevated space by sharing a review with us! We’d love to see the space you’ve created and share it with everyone on our social media.