DIY Backlit Mirrors: Glow-Up Your Space with Light Magic
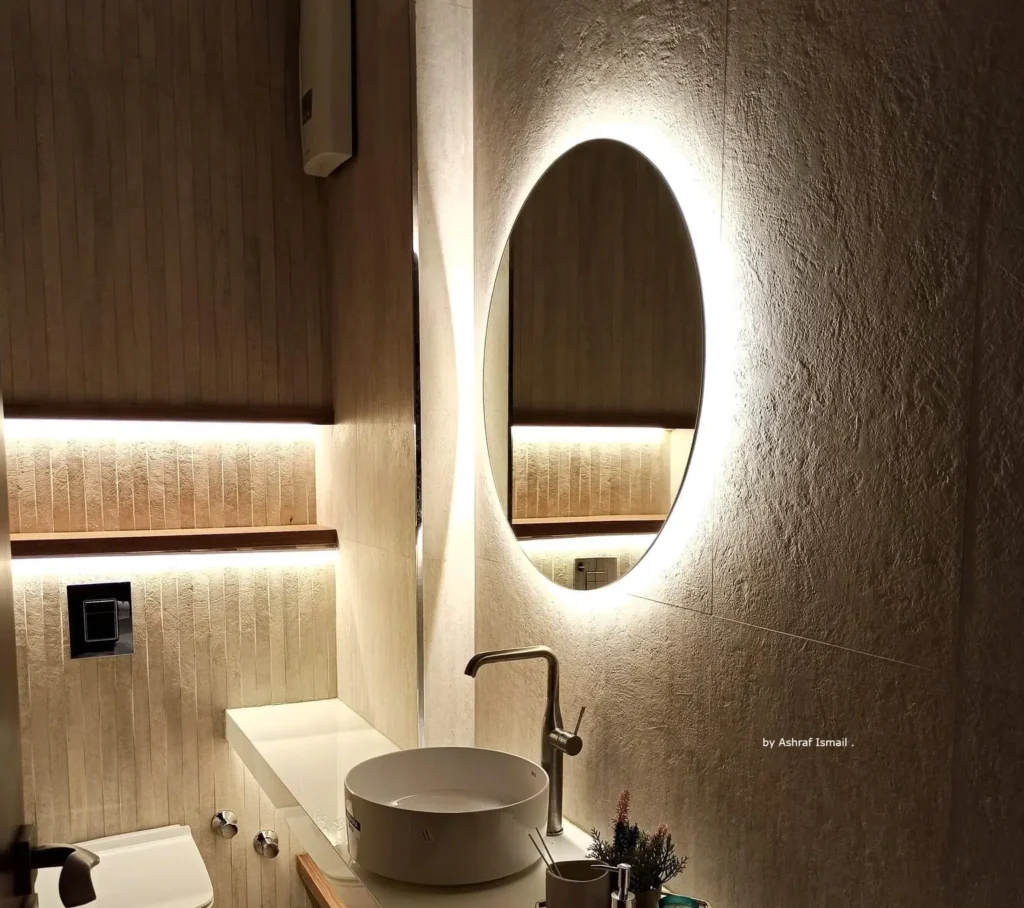
Alright, let’s talk mirrors. Not your basic, ordinary mirror that just hangs there, but one that glows, dazzles, and takes center stage in your space. Yes, I’m talking about the DIY backlit mirror. Imagine your mirror not just reflecting your fabulous self, but also lighting up your room like it was plucked straight from a luxury hotel or a viral TikTok video.
Backlit mirrors are the ultimate combo of style and function. Whether you’re a makeup enthusiast looking for flawless lighting or you want to add an Instagram-worthy vibe to your floating mirror, this project is the glow-up you didn’t know you needed. With the right LED strips, a solid plan, and a sprinkle of creativity, you can create a modern look that feels custom-made for your space. Ready to shine? Let’s get started.
Articles you may be interested in:
Modern Shower Lighting Inspiration
DIY Shower Lighting Upgrades: Affordable Ways to Transform Your Bathroom
Why DIY a Backlit Mirror?
Sure, you could go out and buy a ready-made backlit mirror. But where’s the fun in that? Creating your own is not just rewarding—it’s budget-friendly, customizable, and oh-so-fun to do.
Here’s why this is a popular choice:
- Customizable to Your Needs: Want your mirror to mimic natural light for precise makeup application? Or maybe you’re aiming for a warm glow to set a cozy mood in your bathroom? You’re in control.
- Affordable Luxury: With a little effort and the best LED light strips, you can create a high-end modern look without spending a fortune.
- Style Meets Functionality: A backlit mirror isn’t just pretty—it’s practical, giving you better lighting for everyday tasks.
And let’s not forget the bragging rights. Every time someone compliments your backlit bathroom mirror, you get to say, “Oh, that? I made it myself.”
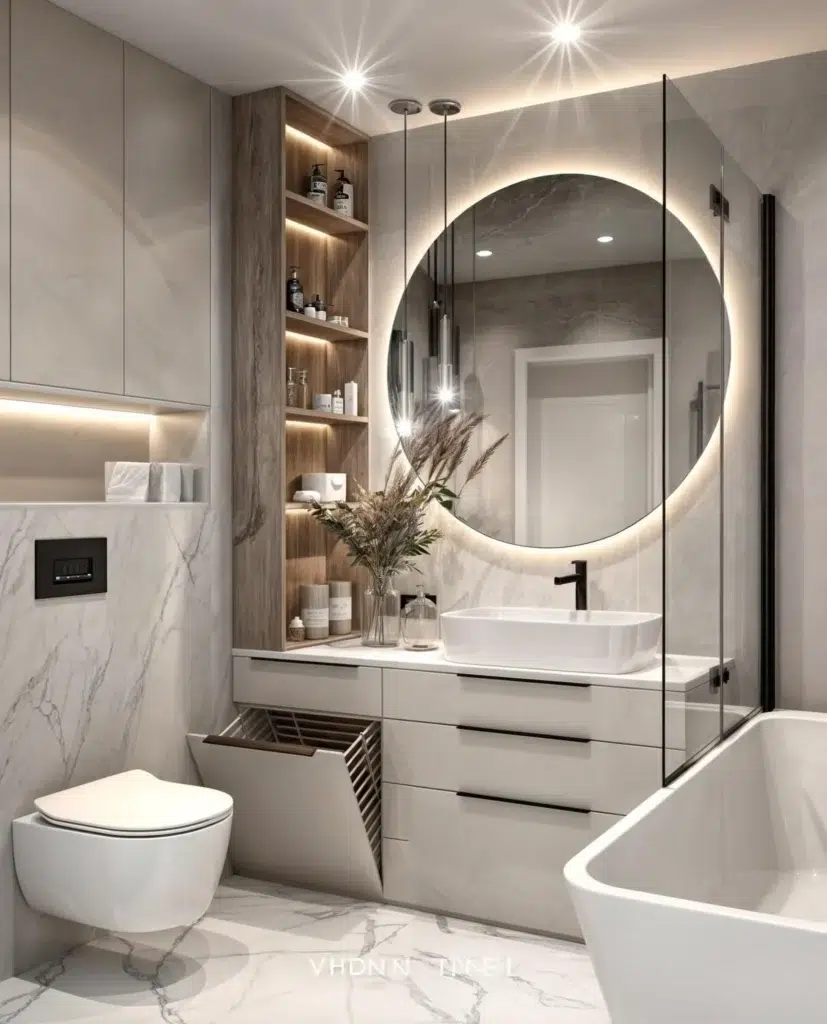
The Glow-Up Kit: Materials You’ll Need
Before you dive in, let’s talk about the necessary materials. Here’s what you’ll need to bring your glowing masterpiece to life:
- LED Strips: The star of the show. Look for strips with a high color rendering index (CRI) for accurate, natural-looking light. If your mirror is going in the bathroom, make sure the strips have an appropriate IP rating for moisture resistance.
- Adhesive Strip: This will keep your LED strips securely attached to the back of the mirror.
- Power Supply: Match the voltage of your LED lights to avoid flickering or overheating.
- Remote Control: Adjust brightness, color temperature, and even switch between different colors.
- Measuring Tape: To measure the sides of the mirror and ensure you buy enough meters of LED strip lights.
- Optional: Extra light bulbs or a backup light kit for larger projects.
Step 1: Prepping Your Mirror Like a Pro
Before you can light it up, you’ve got to lay the groundwork. Here’s how to prep your mirror:
- Clean It Thoroughly: Dust, grime, and smudges can mess with the adhesive strips. Wipe down the back of the mirror until it’s spotless.
- Measure Everything: Grab your measuring tape and note the dimensions of your mirror. Precision matters! This ensures you have enough LED strips to cover the whole thing without gaps.
- Plan Your Layout: Decide if you want the LEDs along the outer edge of the sides of the mirror or slightly inset for a floating effect.
Pro Tip: If you’re starting with an existing mirror, consider turning it into a floating mirror for added drama.
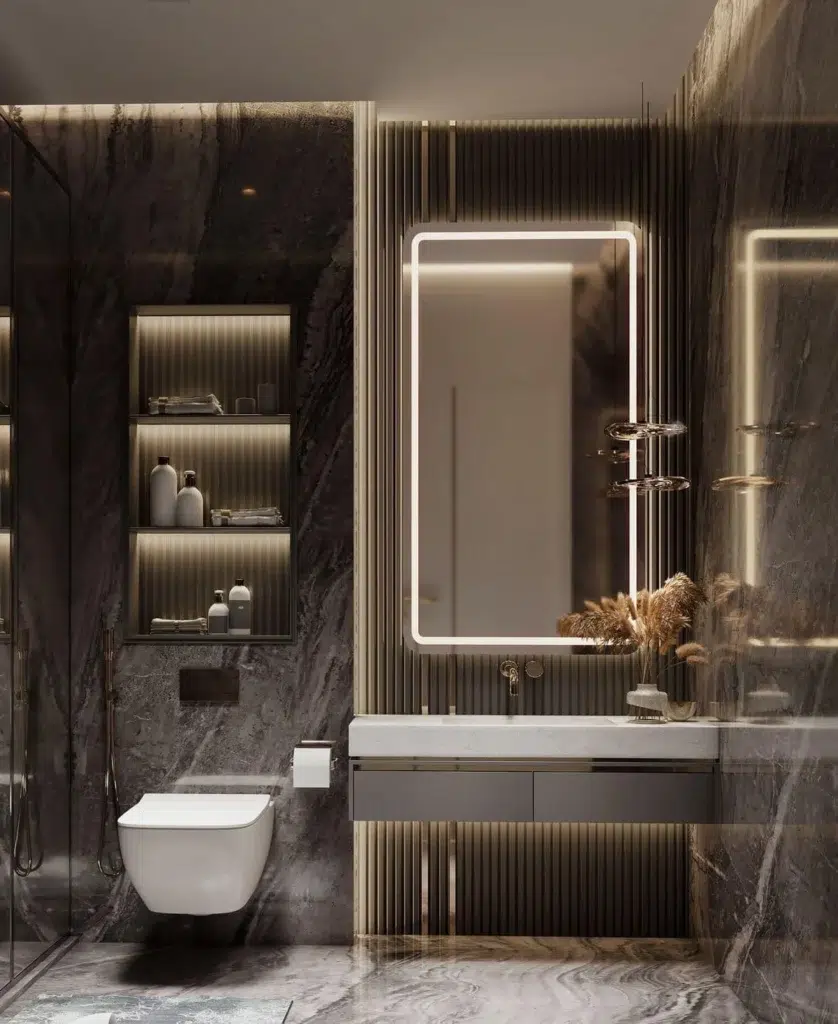
Step 2: Installing Your LED Strips
Here’s where the fun really begins. Follow these steps to install your LED lights:
- Measure and Cut the Strips: Use your earlier measurements to cut the LED strips to size. Only cut along the designated cut points—anything else could damage the lights.
- Stick Them in Place: Peel off the adhesive strip backing and press the LEDs onto the back of the mirror. Start at the top left corner and work your way around for even placement.
- Connect the Power Supply: Plug the LED strips into the power adapter. For permanent setups, make sure the wiring is tucked away neatly.
Light It Up: Grab your remote control and test out the lighting. Adjust the color temperature and brightness to see the magic come to life.
Why LED Strips Are a Game-Changer
Not all LED strips are created equal, and choosing the right ones can make or break your project. Here’s what to look for:
- High CRI: A CRI of 90+ ensures your mirror produces accurate, flattering light—perfect for makeup enthusiasts.
- IP Rating: If you’re installing the mirror in a bathroom, go for an IP65 rating to handle moisture.
- Lighting Options: Some LEDs offer single color outputs, while others can switch between colors for added flair.
Power Options: Wired or Wireless?
How you power your backlit mirror depends on where you’re installing it and how portable you want it to be:
- Plug-In Setup: This is ideal for stationary mirrors like a backlit bathroom mirror. It offers consistent lighting and zero hassle with battery changes.
- Battery-Powered: Perfect for mirrors you want to move around. These are super convenient but require occasional recharging or battery replacements.
Pro Tip: Always use a power supply that matches your LED strips’ voltage requirements to avoid any issues.
Step 3: Customizing Your Mirror’s Glow
Here’s where your mirror goes from functional to fabulous. Customization is all about creating the perfect vibe.
- Adjust the Brightness: Whether you want soft ambient light or full-on brightness, your remote control has you covered.
- Play with Colors: Switch between warm and cool tones—or even add a pop of color if your LEDs allow.
Dimmers for the Win: Add dimmers to fine-tune the lighting output for every occasion, from a chill evening to a well-lit makeup mirror session.
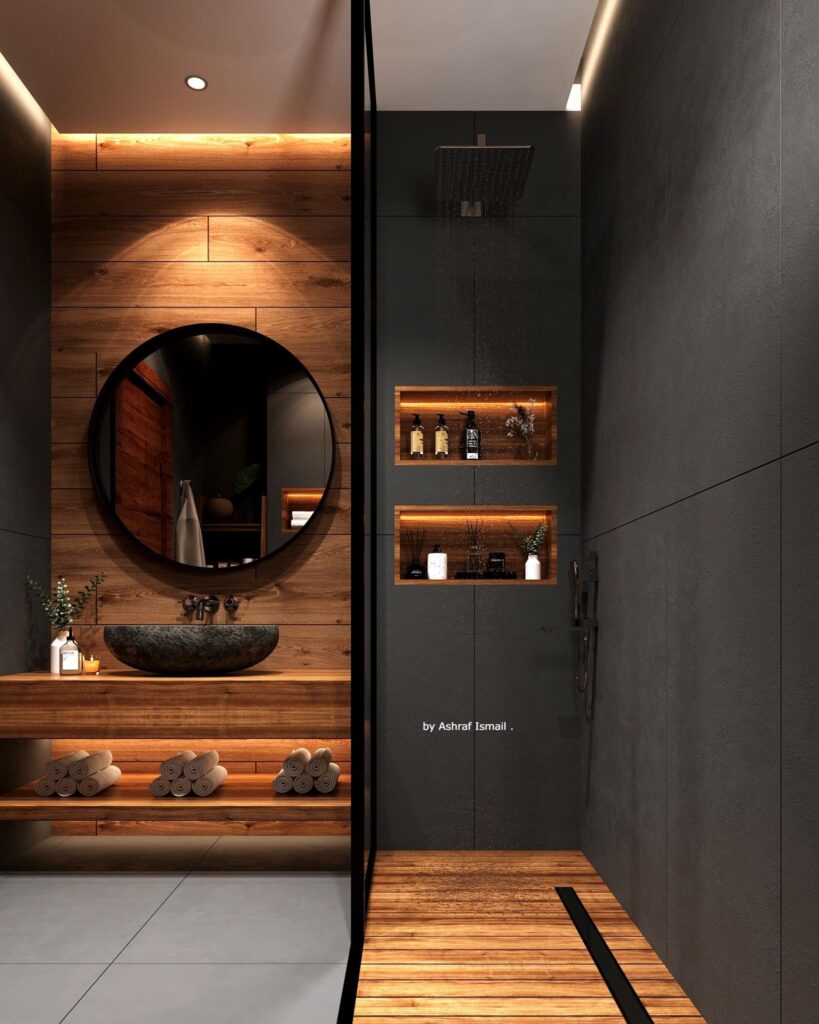
Backlit Mirrors: Beyond the Bathroom
Think a backlit mirror is just for your bathroom? Think again. These mirrors can elevate any room in your home:
- Bedroom: Add a glowing full-length mirror to your dressing area for those perfect outfit checks.
- Living Room: A floating mirror with LED backlighting adds a cozy, modern touch to any space.
- Dining Area: Create a warm, inviting atmosphere by placing a backlit mirror above your dining table.
- Barber Shop Vibes: Bring that sleek, professional look into your home with a backlit setup inspired by stylish barbershops.
Step 4: Maintaining Your Glow-Up
A little maintenance goes a long way in keeping your DIY mirror looking fresh:
- Clean Regularly: Dust the LEDs and mirror surface to keep everything shining bright.
- Unplug Before Cleaning: Safety first! Always disconnect the power supply before wiping down your mirror.
- Check Connections: If the lights flicker, double-check the wiring and power source for any loose connections.
Pro Tips for Mirror Perfection
- Use natural light in combination with your backlit mirror for a beautifully balanced glow.
- Pair your ceiling lights with the mirror’s backlighting to create a layered, well-lit space.
- Add decorative elements like metallic frames or textured finishes for an extra touch of style.
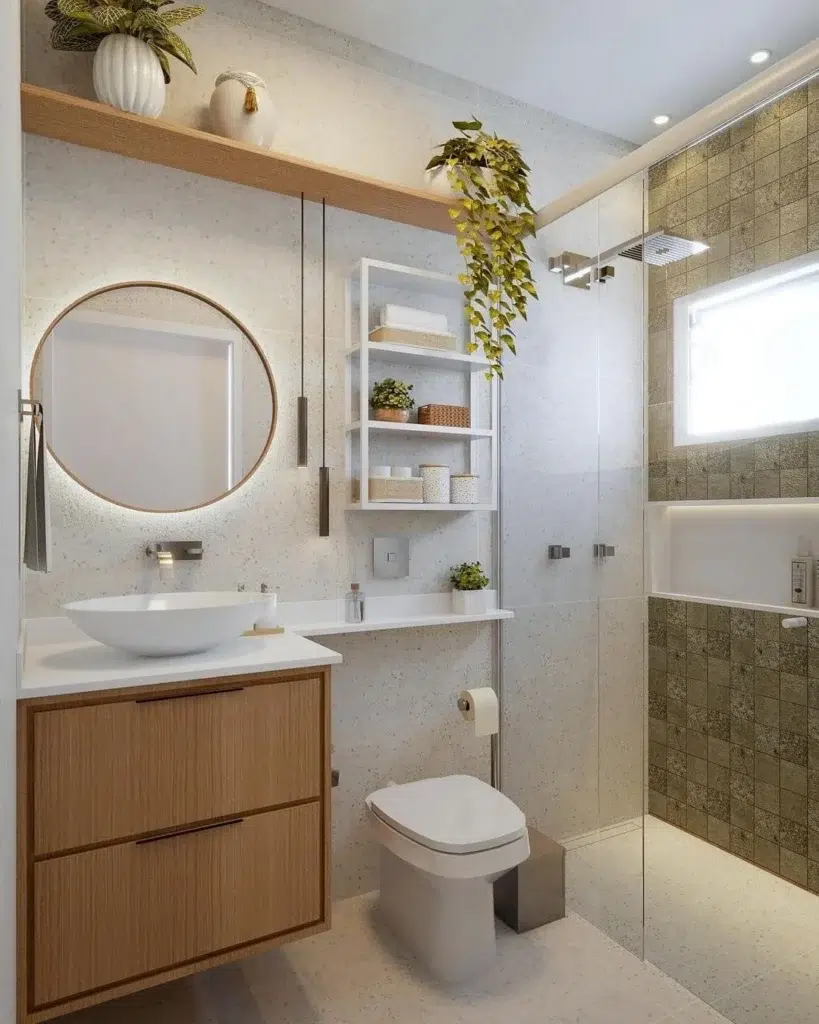
Why You’ll Love This DIY Project
Creating a backlit mirror isn’t just about upgrading your home—it’s about adding a personal touch that reflects (pun intended) your creativity. This project combines practicality, style, and a little bit of DIY magic to transform any space.
From selecting the best LED light strips to customizing the glow for your needs, this is one project that keeps giving. So go ahead, grab your materials, and let your creativity shine. Your space—and your selfies—will never look better.

