Dark shower corners can be frustrating and even unsafe. Poor lighting makes it hard to see, increases the risk of accidents, and can make your bathroom feel small and unwelcoming. Smart lighting offers a simple solution by improving visibility, safety, and style in your shower space.
Key Takeaways:
- Why Corners Stay Dark: Overhead light placement, dark tiles, frosted glass, and recessed niches block light.
- Why It Matters: Better lighting improves safety, makes cleaning easier, and creates a more pleasant atmosphere.
- Smart Lighting Options: Waterproof LED strips, motion-activated lights, and niche-specific kits like Thunder Bunny can brighten your shower effectively.
- What to Look For: Choose lights with high waterproof ratings, dimming options, adjustable brightness, and easy installation.
Investing in smart lighting transforms your shower into a brighter, safer, and more inviting space. The Thunder Bunny Shower Niche LED Kit, starting at $249, is a top choice for its durability, ease of use, and tailored design for wet areas.
How to Install LED Lights In Shower Niche — ACTUAL JOB!!
The Problem: Why Shower Corners Stay Dark
Shower corners often remain dim due to design flaws and structural limitations. Recognizing these challenges is the first step toward finding effective lighting solutions.
What Causes Poor Shower Lighting
One major culprit is overhead lighting placement. When a single overhead fixture is installed outside the shower, the light gets blocked by the person inside, casting shadows. On top of that, shower walls further obstruct light from reaching the back corners.
The problem gets worse with dark tiles and surfaces, which tend to absorb light instead of reflecting it, making shadows even deeper.
The design of the shower enclosure also plays a part. Frosted glass and corner setups reduce how much light can enter the space.
Lastly, recessed niches – those handy little shelves for your shampoo – can create shadowy pockets that are hard to illuminate.
These factors combine to make proper lighting in showers a challenge, but one that can be addressed with thoughtful design.
Why Good Lighting Matters in Showers
Proper lighting in your shower isn’t just about aesthetics – it’s about safety. Bright lighting helps prevent slips, makes labels easier to read, and ensures safer grooming.
It also enhances visual comfort, making your showering routine more pleasant. Dim lighting strains your eyes and complicates everyday tasks, while a bright, well-lit shower feels open and inviting, turning a functional space into a relaxing retreat.
And let’s not forget hygiene and cleanliness. Good lighting makes it easier to spot soap scum, grime, or mold in hidden areas, helping you keep your shower spotless. Plus, a well-lit bathroom isn’t just practical – it can boost the overall appeal of your home, potentially increasing its value.
Smart Lighting Options for Shower Spaces
Smart lighting can elevate your shower experience by blending practicality with a touch of elegance. From waterproof LED strip lights to motion-activated systems, these options are crafted to function seamlessly in wet conditions while adding a stylish flair to your bathroom. Let’s dive into the details.
Waterproof Smart LED Strip Lights
Waterproof LED strip lights are a versatile choice for shower spaces. Their protective coatings and flexible designs make them suitable for installation in tight or awkward spots. These lights often come with adjustable brightness and customizable color options, allowing you to tailor the lighting to your mood – whether you need bright illumination for your morning routine or a calming glow for a spa-like retreat.
Motion-Activated and Sensor-Based Lighting
Motion-activated lighting offers hands-free convenience by automatically turning on when it detects movement. For instance, low-level PIR sensor lights provide subtle illumination, making them perfect for nighttime use without being too harsh on the eyes.
Many models available as of October 2025 feature wireless, battery-powered designs with remote controls for easy adjustments. Some popular examples include the "10,000mAh Rechargeable Ceiling Light with Remote" and the "Rechargeable IP54 Waterproof Shower Light Indoor, 12000mAh Motion Sensor Wireless RGB Ceiling Light with Remote No Wiring." These models are equipped with rechargeable batteries, eliminating the need for complex wiring and making installation a breeze.
Thunder Bunny Shower Niche LED Lighting Kit
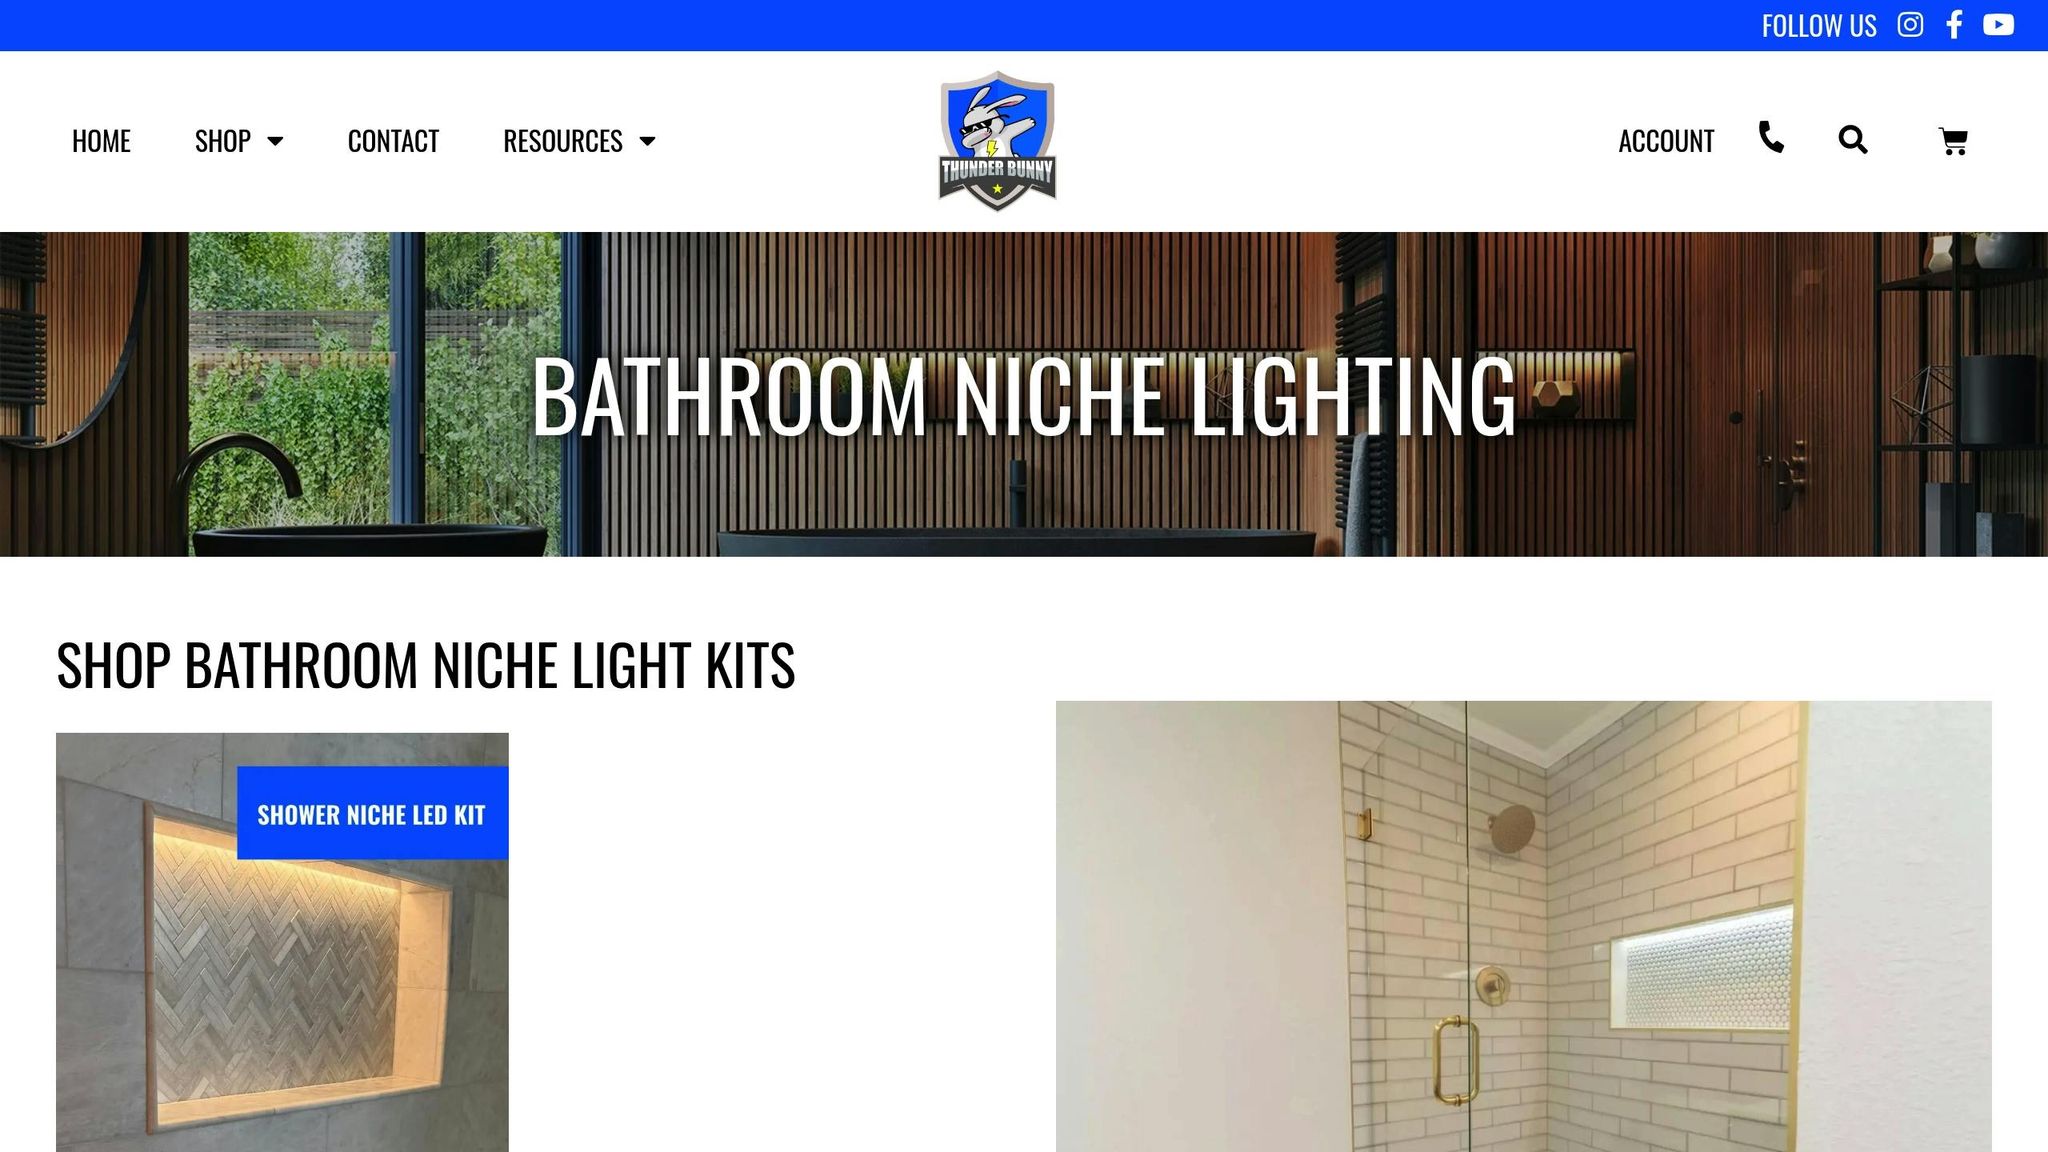
For those looking to highlight recessed shower storage areas, the Thunder Bunny Shower Niche LED Lighting Kit is a standout option. Priced between $249.00 and $350.00, this professional-grade kit features waterproof LEDs designed to endure wet environments. It also includes dimmable functionality, giving you control over the lighting intensity to suit your preferences.
The kit is designed for easy installation, with detailed video tutorials provided by Thunder Bunny to guide you through the process. While it requires a separate light switch to integrate with your existing electrical system, all necessary components are included for a complete setup.
With a 2-year warranty and a universal design, this kit works with various shower niche configurations, ensuring even and attractive lighting for single or multiple recessed areas. It’s a functional and stylish way to enhance both the practicality and aesthetic appeal of your shower space.
How to Pick the Right Smart Lighting for Your Shower
Choosing smart lighting for your shower means finding the perfect balance between safety, practicality, and style in a space prone to moisture. Getting this right is especially important to address the shadowing issues mentioned earlier.
Key Considerations for Your Shower Lighting
Waterproof Rating (IP Rating): Always check the IP rating. For LED strips, go for an IP65 rating or higher. For battery-operated lamps, ensure they have at least an IP44 rating.
Safety Certifications: Stick to UL-certified fixtures with GFCI protection to minimize the risk of electric shocks. If you’re opting for hard-wired installations, use waterproof connectors and seal electrical junctions with silicone for added safety.
Brightness Levels: Aim for a minimum of 100 lumens per square foot. This level generally works well for most shower areas and ensures proper illumination.
Color Temperature Options: Choose lighting that lets you adjust the color temperature. A range between 2,700K and 6,500K allows you to create warm lighting for a relaxing soak or cool tones for an energizing morning shower. Some systems even offer RGB color-changing features for added mood customization.
Dimming Capability: Dimmable lighting lets you control the brightness, helping to create a relaxing ambiance while also saving energy. Whether the dimming feature is built-in or controlled via an external smart dimmer, it can elevate your shower experience.
Installation Needs: Think about what works best for your setup. LED strip lights are versatile and can be installed around niches or perimeters, but they need secure fastening and waterproof sealing. Recessed lights provide a modern look but are trickier to install compared to surface-mounted fixtures, which are the simplest option.
With these factors in mind, let’s see how Thunder Bunny LED kits compare to other lighting solutions.
Thunder Bunny LED Kits vs Other Lighting Options
Here’s a quick breakdown of how Thunder Bunny stacks up against other popular options:
| Feature | Thunder Bunny Shower Niche Kit | ASALL Smart Waterproof LED Flush Mount Ceiling Light | Schluter KERDI-BOARD-SNLT | Battery-Operated Table Lamps |
|---|---|---|---|---|
| Price Range | $249.00 – $350.00 | $34.19 – $35.99 | Professional installation required | $23.00 – $70.00 |
| Waterproof Rating | Waterproof design | IP44 certified | Code-compliant for wet areas | IP44 or higher recommended |
| Warranty | 2-year warranty | 1-year free replacement | Professional grade | Varies by manufacturer |
| Installation | Video tutorials included | Easy DIY installation | Requires professional installation | No wiring required |
| Smart Features | Dimmable functionality | Bluetooth, remote control, RGB color changing | Superior CRI of 95+ and warm 3000K lighting | Basic dimming on select models |
| Energy Efficiency | LED technology | 60 lumens per watt | Professional LED strips | Battery-dependent |
Thunder Bunny kits are designed to seamlessly fit into various shower niche configurations, ensuring even light distribution that enhances both functionality and appearance. While they come at a higher price point, their professional-grade construction and durability justify the investment.
In comparison, the ASALL Smart Waterproof LED Flush Mount Ceiling Light offers features like Bluetooth connectivity and RGB color-changing capabilities but is better suited for general bathroom use rather than the specific needs of shower niches.
For a high-end option, the Schluter KERDI-BOARD-SNLT system delivers excellent performance with a CRI of 95+ and warm 3000K lighting. However, it requires professional installation and comes with a premium price tag. On the other hand, battery-operated options like the WEILAILUX Cordless Mushroom Table Lamp (around $40) are portable and convenient but lack the reliability and permanence of hardwired systems like Thunder Bunny.
The 2-year warranty offered with Thunder Bunny kits is a testament to their durability, making them a dependable choice for wet and demanding environments.
sbb-itb-6294289
Step-by-Step Guide: Installing Smart Shower Lighting
Want to install smart LED lighting in your shower? Follow these steps to ensure a safe, waterproof, and code-compliant setup.
Planning and Preparation
Before diving in, safety first: turn off the power at the main breaker. Double-check with a voltage tester to make sure there’s no live current. Gather everything you’ll need, including tools like a measuring tape, pencil, wire strippers, soldering iron, utility knife, stud finder, and insulated tools. Don’t forget safety gear – goggles, gloves, and a sturdy ladder are must-haves. For materials, grab waterproof LED strip lights, clear RTV silicone, heat shrink tubing, a Class 2 power supply (12V or 24V), and wire connectors.
Start by measuring the dimensions of your shower niche – width, height, and depth – and mark where the LED strips will go. Use a stud finder to locate ceiling joists or anything that might get in the way of your wiring route. Before mounting, clean all surfaces with rubbing alcohol to remove soap scum and moisture. This ensures the LED strips will stick properly.
With your tools, materials, and a plan in place, you’re ready to move on to the installation.
Installing LED Strips in Wet Areas
Now it’s time to mount the LED strips. Place them near the top of your shower niche to keep them away from pooling water and to light up those dark corners effectively. Position the wiring entry point behind the niche to shield it from direct water exposure.
For corner installations or uneven surfaces, use aluminum tracks or channels to secure the strips. These not only provide a stable attachment but also help manage heat. If adhesive backing isn’t enough, reinforce the strips with brackets or clips. When installing multiple strips, streamline the layout by minimizing connections. Use tools like Y-splitters or multi-way distributors to power multiple strips from a single source.
To waterproof the setup, apply a thin layer of clear RTV silicone along the edges where the LED strips touch the mounting surface. Pay extra attention to corners and connection points to block any potential water entry.
Connecting and Setting Up Smart Features
Connect the LED strips to a Class 2 power supply, ensuring it doesn’t exceed 96 watts to avoid electrical risks. Keep the power supply and controllers in a dry, remote location, routing wires away from water exposure.
For secure connections, solder the wire joints and seal them with heat shrink tubing. If soldering isn’t your thing, solderless connectors are a good alternative. To meet safety standards, use GFCI outlets in the bathroom – this is often required by local electrical codes. If you’re unsure, consult a licensed electrician.
To enable smart features, integrate controllers like the Casambi Bluetooth 4 Channel PWM Controller or the Lutron Caseta ELV+ PD-5NE Smart Home Dimmer Switch. These let you adjust brightness, set schedules, or even activate motion detection. Follow the manufacturer’s instructions to program everything.
Lastly, create a drip loop in the wiring to channel any water away from electrical connections. Make sure it’s positioned to avoid mold buildup. Once everything is installed, test all the features – brightness, color changes, motion sensors, and more. After confirming everything works, seal all connection points and wire entries with a final layer of silicone for added protection.
Maintaining and Adjusting Your Smart Lighting
Make the most of your smart shower lighting by tapping into its energy-saving settings and preset modes. Features like dimmable controls and motion-activated options not only keep your lighting efficient but also elevate the ambiance of your shower space.
Improving Energy Efficiency and Performance
Take advantage of your smart lighting’s energy-saving features to cut down on electricity usage. For example, set up automated dimming schedules to lower brightness during times when the shower isn’t in use. Motion sensors are another great tool – lights will only turn on when someone is present, helping you avoid unnecessary energy consumption. To keep everything running smoothly, regularly check that your sensors and controllers are functioning as they should.
After ensuring efficiency, focus on fine-tuning the settings to create the perfect atmosphere for your shower.
Adjusting Lighting for Atmosphere and Function
Smart lighting gives you the flexibility to craft the perfect mood in your shower area. For a calming, spa-like vibe in the evening, go for warm white tones around 2,700K. On the other hand, cooler or neutral white light (around 4,000K) works well for energizing your morning routine or tasks that need better visibility. Consider blending general lighting with accent lighting, and program scenes to automatically adjust brightness and color temperature to match your mood or activity.
Conclusion: Fix Your Dark Shower Corners with Smart Lighting
Smart lighting can turn those dim, shadowy shower corners into bright, functional areas that boost both safety and style. With improved visibility, your shower becomes not just safer but also more inviting.
Thunder Bunny’s lighting solutions shine thanks to their universal fit design, which works seamlessly with any shower niche or corner layout. These trim-style LED systems are built to accommodate custom builds, repairs, and flexible installations, making them a versatile choice for any bathroom setup. Plus, they’re DIY-friendly, with clear tutorials and phone support to guide you through the process. This combination of adaptability and ease of installation ensures a hassle-free upgrade that’s built to last.
These lights are also energy-efficient, durable, and equipped with smart controls, making them a practical and cost-conscious choice. Not only will you save on electricity, but you’ll also enjoy a safer and better-lit shower space.
Starting at $249, this upgrade offers a balance of affordability, functionality, and style. With smart features, energy savings, and lasting performance, adding Thunder Bunny’s lighting to your shower is an investment in both safety and comfort.
FAQs
How can smart lighting make my shower safer and more inviting?
Smart lighting can make your shower space safer and more inviting. With waterproof fixtures rated for wet areas – like those with an IP65 rating or higher – you can boost visibility and minimize risks in damp environments. This is particularly useful for bathrooms that lack natural light or have larger shower areas.
On top of that, smart lighting gives you the power to adjust brightness and color temperature to suit your mood. Need an energizing burst of light in the morning? Or perhaps a calming, spa-like glow in the evening? The choice is yours. These lighting options not only enhance practicality but also bring a sleek, modern touch to your bathroom’s design.
What should I look for when choosing smart lighting for shower areas?
When choosing smart lighting for your shower, water resistance should be your top priority. Look for fixtures with a waterproof rating of IP65 or higher to ensure they can handle the wet environment safely and last over time.
You’ll also want to think about brightness and color temperature. Aim for lights that provide at least 100 lumens per square foot to ensure proper illumination. Adjustable color temperatures are a great option, allowing you to balance functionality with a relaxing ambiance.
Lastly, consider lights with smart features for extra convenience. Options like app or voice control make managing your lighting effortless. Features such as adjustable angles or dimmers can further boost energy efficiency while making your shower space more practical and inviting.
How easy is it to install smart lighting in a shower, and what tools or precautions should I keep in mind?
Installing smart lighting in your shower can be simple, but it’s important to take extra precautions because of the damp environment. For basic options like waterproof smart LED strips, the process is usually straightforward. These often come with adhesive mounts or clips, making installation a DIY-friendly project. On the other hand, more advanced setups – like motion-activated lights or smart switches – might involve electrical wiring, which is best handled by a professional.
Safety should always come first. Use waterproof-rated lighting designed specifically for wet areas, and make sure all connections are sealed to protect against water damage. Adding a GFCI (Ground Fault Circuit Interrupter) outlet is a smart move to enhance safety. Finally, don’t forget to check your local electrical codes to ensure everything is up to standard.
Related Blog Posts